Thursday, 2 October 2014

Crazy New Shirt - Recycling a man's shirt

So in keeping with my recycling theme at the moment, I have created a new ladies shirt form a man's collared shirt a friends was throwing out.

I wanted to keep the button feature from the center front of the shirt but put it at the back to make my shirt much more feminine and remove the collar.

I went to my favourite Turkish Fabric Market in Berlin and found a great trim to put on the shoulders.
I have removed the oringinal sleeves and added the trim as an edging.

 Below you can see the tucks I have created at the front neckline and back neckline to add a design feature and make the shirt sit propertly


You can also see here that i have kept the hem exactly as it was!


Friday, 19 September 2014

I Feel Blue


So Berlin decided to swallow the sun up and Germany is cold again!
It is time for a new jacket!

This is a little lightweight jersey fabric I picked up at the local Turkish Market.

It is more of a relaxed fit so I really didn't want to line it but still make sure the finish was good.

I love this fabric because you can wear a jacket under a coat and feel totally comfortable like you are wearing a jumper.

They also look good most of the time too!
I still interfaced my collar and front panels to give it extra support.


I opted for a bind to cover all the seams and create some nice stitch detailing on the outside.
Raw edge
My funky coloured bind


Wednesday, 10 September 2014

My Head is Cold...


So I stole that line from my father but it is true!
Living in Berlin, September is already cold!  (Well for me anyway).

Some friends were throwing out their old clothes and I grabbed the items with the fabric that I liked.


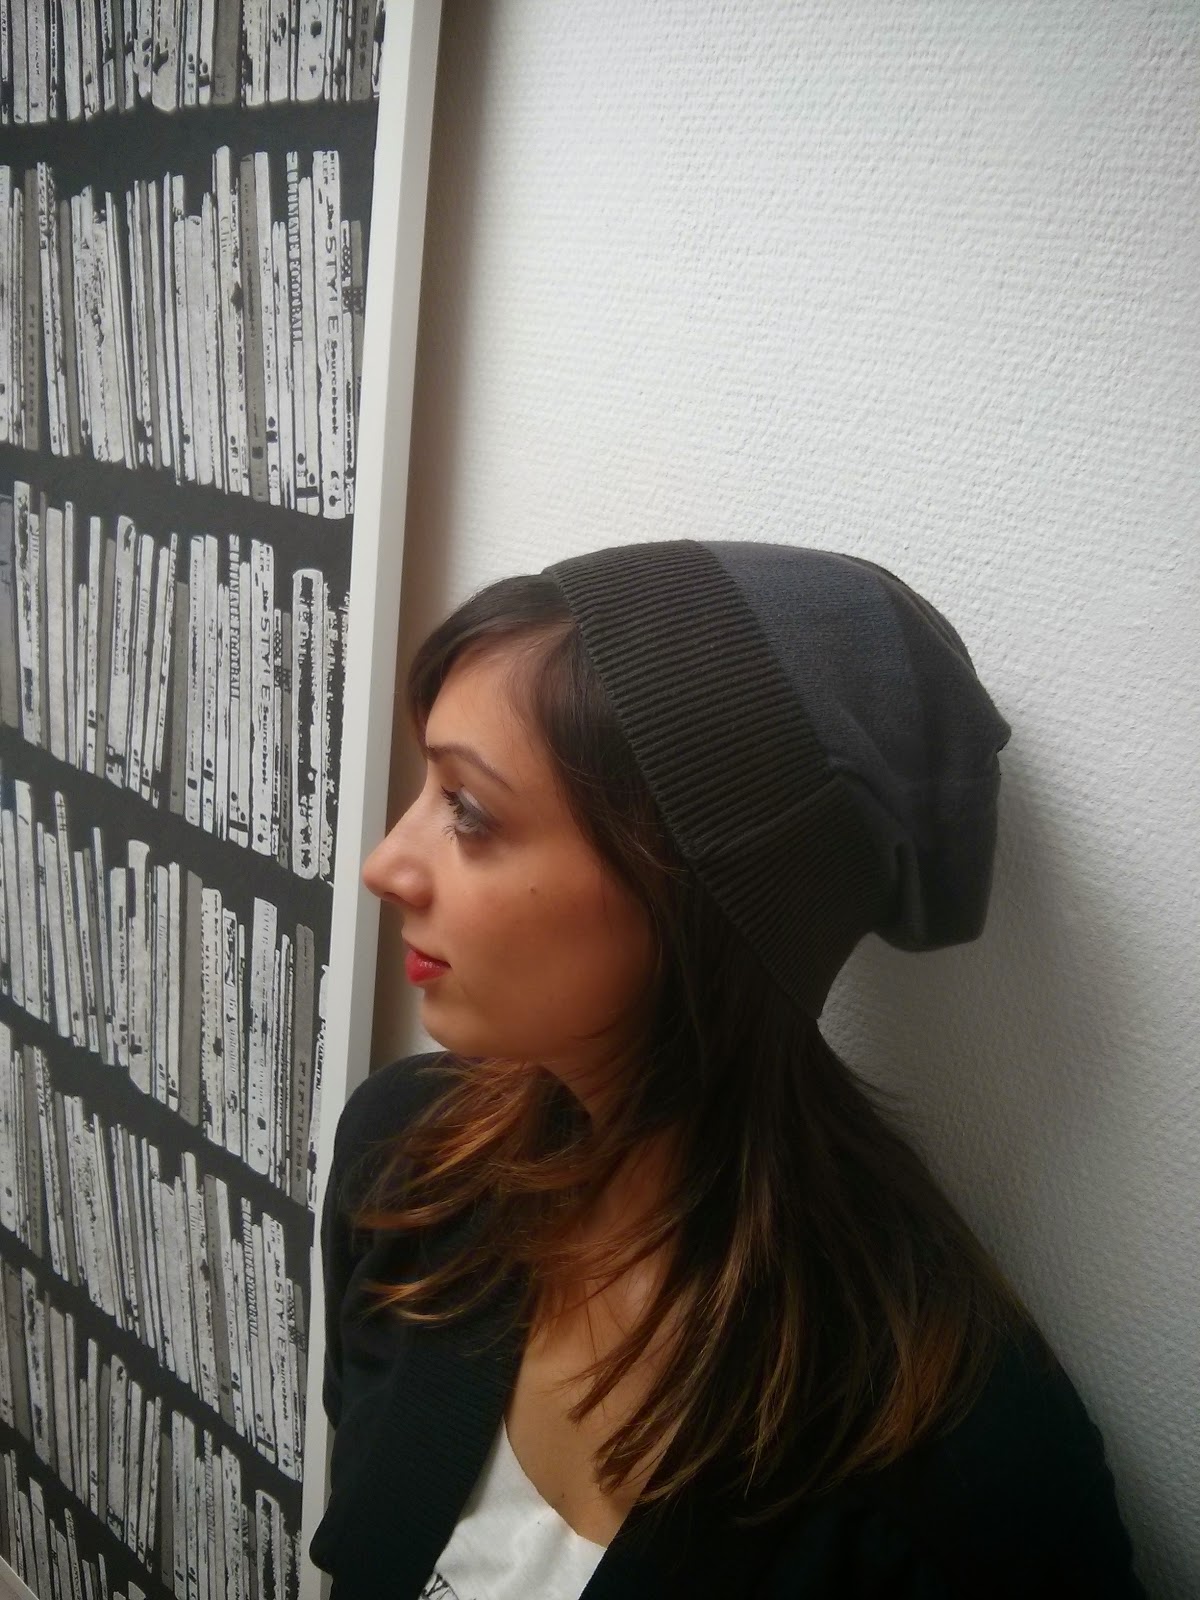
As my head is cold I need a new beanie!


1. Take and old jumper and cut straight across the chest.
This is an oldie but a goodie!
No going back now!


2. Fold it in half and cut it in half
3. Stitch straight down the side and zig zag it to ensure the knit doesn't come apart


4. Create a tacking stitch (but make sure it is more secure than a normal tacking stitch) and then pull it so the fabric gathers.  
5. Create a blanket stitch to secure the knit and make sure it doesn't fray.


Finished!
 

I love my new beanie!!!


Old Jeans = New Wallet

I have been working hard on a few projects lately so not a great deal of updates... I am still sewing and making some interesting products out of recycled old clothing.

This is my new favourite is my wallet.  I took an old pair of jeans (from a girlfriend) and added a some purple off cuts and this is what I came up with!
Love my wallet

I made sure I had plenty of card room

I took these off after a couple of wear's because they just kept getting court on everything in my bag
If I did it again I would definitely add a better coin section (with a zip). My coins seem to fall out and just annoy me at the bottom of my bag.  
I still love it though!

Tuesday, 5 August 2014

New Basic

I needed a new basic skirt as well!
I picked up this Grey Marl for 2 Euros.  I didn't put a zip in it because I wanted to keep it cheap and easy.  So I added a bind at the top of the skirt.  When you do this with a stretch fabric you need to remember to stretch the fabric slightly when you stitch it together.  This will ensure your threads don't break / snap when you try and slide it over your bottom!
Alternatively you can always put a zip in it.

Circle Skirt Finished

How did everyone go with their circle skirt.  I am really excited with my finished product.
I managed to find a new market in Berlin and picked up a stunning zip and cute fabric.


And this is my new favourite market

Monday, 28 July 2014

My Circle Skirt Challenge


Have you made a circle skirt before?
This is a relatively easy pattern to draft and an easy skirt to put together.

Can you make a skirt this week and send it to me!  I want to see your take on a circle skirt!


Making a Circle Skirt Pattern

What you need

  • Fabric scissors
  • Paper scissors
  • Tape Measure
  • Ruler
  • Paper (for your pattern)
  • Pins 
  • Thread
  • Zip
  • Button (to fasten the waistband) if that is what you choose
  • A great fabric you have selected
  • Trim - Any kind you decide works well with your skirt

Method

  • Measure your waist
  • Draw a line straight across the top of the your pattern paper and down its length 

  • Calculating the radius of your skirt; to do this take your waist measurement and divide this by 6.28 - In this case I have worked on a size 8 = 64cm divded by 6.28 = 10.19cm - I generally round this up (I always add a little bit of room to play when I make my patterns) so I would use 10.5cm
  • Then draw it in

  • Measure the length you would like the skirt to finish and draw it in.


  • Your waistband: Draw a rectangle 8cm high and the length of your waist 8cm (h) x 64cm (w)
  • You will then need to add your seam allowance.  Again I use 1.5cm all round except on one side of the waist band as shown below.  I add 3.5cm there because this is where I will be adding my button.

(This is what you skirt pattern should look like)


Pattern Method completed.
Can you put this skirt together on your own? 
I look forward to hearing from you.
I will put up a new clip to show you how to create the skirt at the end of the week.
Good luck
M x